
Noobs in Combat Jungle Battalion Campaign Walkthrough and Tactics
Noobs in Combat Jungle Battalion is a cooperative campaign where players advance through fortified borders, cleared minefields, and dense hills to defeat an enemy Marshal. Successfully clearing these stages requires managing supply carriers, neutralizing artillery spots, and coordinating armored pushes.
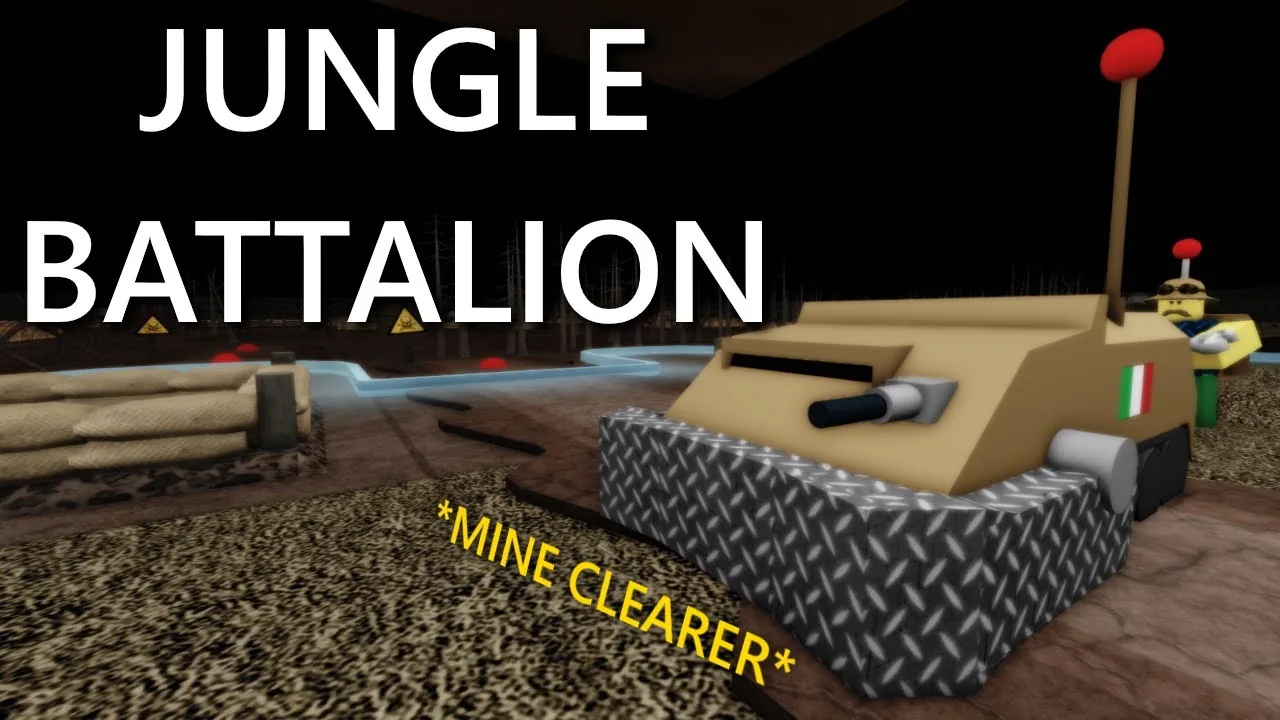
Noobs in Combat Jungle Battalion is a cooperative campaign where players advance through fortified borders, cleared minefields, and dense hills to defeat an enemy Marshal. Successfully clearing these stages requires managing supply carriers, neutralizing artillery spots, and coordinating armored pushes.
Border Breach and Depot Capture
The opening scenario places players under the direction of Chief Commander Rando, tasked with punching through a fortified border sector. Two paths exist: driving directly through the central forest valley or sweeping through the outer wings. Securing the two forward depots on the map triggers allied reinforcements, but alert levels escalate rapidly once enemy positions spot your troops. Border guards dispatch a rapid response force, supported by stationary defenses and light vehicles.
Enemy defensive lines feature Humvees, snipers, and dug-in grunts positioned around defensive bunkers. Players can leverage flame launcher weaponry to hit soft infantry targets for up to 100 direct damage, while armored squads chip away at fortified outposts. Once the depots fall under allied control, Rando can dispatch a Recon assault along the right wing or mechanized infantry on the left flank. Leveling up veterancy stars on your battle tank provides the durability needed to wipe out counter-pushing smg squad units and clear the border crossing.
Trench Infiltration and Minefield Crossing
The second phase forces units across a heavily mined trench network. To counter explosive hazards, command provides a specialized tread carrier—an experimental armored personnel carrier with reinforced track plating—alongside two heavy sapper units. These sappers carry sonar equipment inside their backpacks and wear steel plate vests, taking zero damage when detonating ground mines during route clearing.
While sappers sweep the terrain, enemy machine gun nests, medium gunners, and hidden anti tank gun emplacements contest the lanes. Hostile infantry experiencing low morale will fall back immediately when struck, creating openings to rush forward positions. Maintaining vehicle logistics is necessary during this push; field guns such as SPAG units quickly run dry on ammunition without dedicated supply trucks running fuel and shells directly to the front.
| Asset | Best Tactical Role | Operational Limitation |
|---|---|---|
| Heavy Sapper | Sweeping minefields and uncovering buried explosives | Lacks heavy offensive firepower against vehicles |
| SPAG Gun | Long-range artillery fire against bunkers and armor | Consumes high ammunition and requires supply vehicle support |
| Tread Carrier | Absorbing frontal machine-gun fire along chokepoints | Susceptible to heavy anti-tank fire if unsupported |
| Supply Carrier | Refueling and rearming advancing artillery and tanks | Possesses no defensive weapons against flanking infantry |
Deep Forest Warfare and Neutralizing the Marshal
The final operation pushes into dense jungle terrain where allied officer Cecil details the defensive layout. Hostile forces maintain a fortified radio station on the elevated hills, using a radio tech relay to coordinate repeated artillery strikes on exposed allied tiles. The surrounding dense forest provides camouflage for defensive positions, hiding enemy snipers that remain cloaked until friendly squads move onto adjacent hexes.
Securing the central road intersection triggers an aggressive enemy counterattack consisting of Recon tanks, flamethrowers, and specialized infantry. Surviving this assault requires positioning SPAG guns behind armored screens to shell approaching vehicles before they reach supply lines. Once the counterattack falters, the enemy Marshal appears on the field. Concentrating combined firepower from artillery and armor quickly eliminates her guard, allowing players to secure her surrender and conclude the campaign scenario.
Next step
Mortar Guide
Review Mortar Team deployment tactics, pairing spotter radios to suppress infantry formations while maneuvering through forested terrain without heavy supply consumption.
Related Guides
Mortar Guide
Review Mortar Team deployment tactics, pairing spotter radios to suppress infantry formations while maneuvering through forested terrain without heavy supply consumption.
Riflemen Overview
Review combat stats, radio ranges, unit evolutions, and tactical loadout pairings for basic Riflemen squads in Noobs in Combat.