
Noobs in Combat Artillery Loadout Guide: Best Setups and Units
Building an effective Noobs in Combat artillery loadout requires balancing eight deck slots between fire support, spotters, frontline screening, and logistics. Players succeed by choosing either light barrage saturation or heavy multi-tile siege strikes backed by dedicated resupply vehicles.
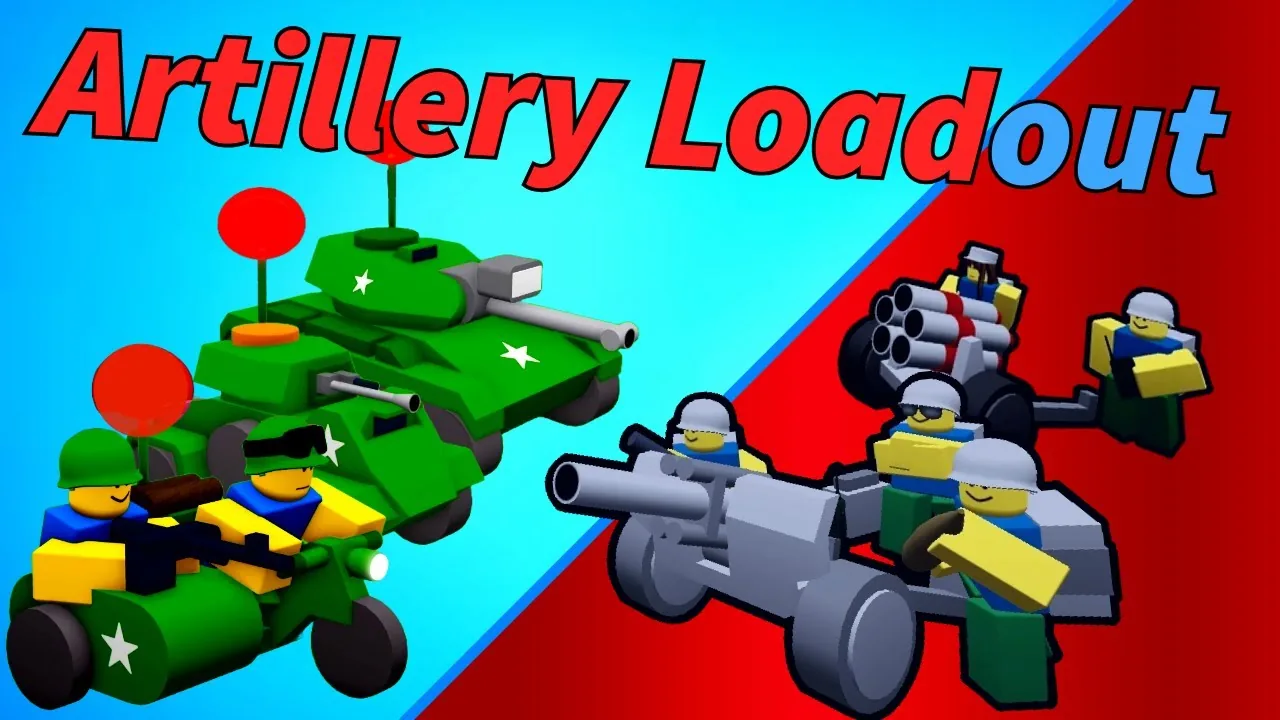
Building an effective Noobs in Combat artillery loadout requires balancing eight deck slots between fire support, spotters, frontline screening, and logistics. Players succeed by choosing either light barrage saturation or heavy multi-tile siege strikes backed by dedicated resupply vehicles.
Choosing Your Artillery Strategy
Every deck in Noobs in Combat has an eight-slot ceiling. Because artillery pieces require dedicated spotters to direct indirect fire, loadouts generally divide into two styles: frequent light barrages or concentrated heavy strikes.
Light barrage decks deploy low-cost artillery pieces capable of firing repeatedly each turn. These builds excel at breaking enemy infantry formations, suppressing positions, and chipping light vehicles. However, fielding many small units exposes your army to rapid morale depletion if frontline screens collapse.
Heavy siege decks center around high-damage pieces capable of damaging several tiles at once. These loadouts target fortifications, defensive clusters, and medium armor. Because high-end guns demand significant deployment currency and fire fewer times per match, heavy builds rely on long-range spotters and disciplined defensive positioning.
| Artillery Unit | Tactical Role | Deployment Trade-off |
|---|---|---|
| Field Gun | Budget direct and indirect fire support | Vulnerable when isolated; requires 30 extra ticks to upgrade to mobile variant |
| Howitzer | Multi-tile saturation against armor and defenses | Towed version cannot move on its own; carries low base ammunition |
| Assault Gun | Urban demolition and anti-bunker fire | 90-tick cost; short firing range and cannot move and fire in the same turn |
| Bunker Buster | Fortification removal with splash damage | 140 ticks; moves only two tiles and cannot target adjacent spaces |
| Rocket Battery | Anti-infantry saturation strike | Deals negligible armor damage; risks friendly fire on spotters |
| Mortar | Inexpensive frontline indirect chip damage | Short range forces it near danger; vulnerable to counter-battery fire |
Light Barrage Loadouts
A light artillery setup relies on affordable units that maintain steady firing lines without draining team reserves.
The standard field gun anchors light decks due to its dual firing modes. In addition to calling in indirect fire through radio spotters, the field gun features a direct attack mode with more than double the armor-piercing power of its standard attack. This self-defense option allows the piece to protect itself from nearby light armor without waiting on forward spotters. Upgrading to the mobile field gun adds 30 ticks to the unit cost, granting armor protection against infantry machine guns and the mobility needed to escape flanking units.
Players pairing field guns with an assault gun gain the Destruction perk. This trait deals double damage against defensive building units such as bunker turrets and strips urban cover from enemy squads. Because the assault gun lacks a turret and cannot move and attack on the same turn, position it behind defensive lines alongside Grunts to screen enemy infantry.
For anti-infantry suppression, the rocket battery fires a three-rocket salvo at defensive groups. The motorized rocket truck fires four rockets and maneuvers along roads, though both variants deal minimal damage to armored vehicles. Adding a mortar team provides low-cost infantry clearing through rough terrain, though its limited range requires infantry escorts.
Heavy Strike Loadouts
Heavy artillery setups sacrifice unit numbers in favor of high-caliber strikes capable of breaking entrenched defensive lines.
The standard howitzer covers multiple tiles in a single attack, inflicting heavy damage on clustered infantry and armored formations. The towed version cannot relocate once deployed, leaving its firing position exposed to counter-battery fire. Upgrading to the mobile howitzer resolves this limitation, providing an engine, armor against small-arms fire, an onboard machine gun, and a four-shell ammo capacity.
When facing maps with heavy structural fortifications, the bunker buster upgrades the assault gun chassis for 50 additional ticks, bringing the total price to 140 ticks. The bunker buster features thick armor and multi-tile splash damage against urban obstacles. Because it moves only two tiles per turn and cannot attack targets directly adjacent to its position, forward defensive troops must guard its approach routes.
To guard against armor breakthroughs, reserve an army slot for a battle tank or anti-tank infantry. Heavy artillery pieces require several turns to eliminate armor, making direct anti-tank support necessary to protect guns from opposing vehicles.
Spotters and Radio Synergy
Artillery cannot target unseen territory without an active spotter unit equipped with a radio. Choosing the right spotter determines firing precision and prevents accidental friendly fire casualties.
Sniper teams represent the safest radio spotters for long-range pieces. A sniper team possesses extended spotting vision and long radio transmission distance, allowing howitzers and rocket trucks to fire at maximum distance without placing the spotter near splash damage.
Grunts serve as budget spotters in light artillery decks. Their high model count and terrain concealment make them durable frontline spotters, though their short radio range requires careful targeting coordinates to prevent splash damage from hitting friendly squads.
Riflemen should not spot for howitzers, bunker busters, or rocket artillery. A Rifleman squad possesses only one tile of radio range. Calling a multi-tile barrage from a Rifleman unit places the spotter directly inside the impact zone, destroying your own squad in the barrage.
Armored spotters like the Recon Car and Armored Car provide mobile targeting options along open flanks. The armored personnel carrier can also ferry infantry spotters forward while offering an integrated radio station to coordinate strikes from relative safety.
Supply Lines and Deck Balance
Every artillery deck requires dedicated logistics to maintain offensive momentum. Heavy pieces exhaust their munitions quickly and require frequent supply runs.
The Supply Carrier fits heavy builds running howitzers or bunker busters. Because these heavy pieces hold limited ammo stocks and advance slowly, the high capacity of the Supply Carrier keeps firing lines active without requiring continuous resupply trips.
For light barrage builds, the standard Supply Wagon or Supply Halftrack offers sufficient resources at a lower cost. Mass-producing cheap supply wagons allows an army to scatter ammo reserves across wide defensive fronts.
On maps featuring air units, allocate at least one deck slot to an anti-aircraft piece, such as a self-propelled anti-aircraft gun or towed flak weapon. Land artillery possesses no anti-air defensive capabilities, leaving unprotected batteries defenseless against dive bombers and heavy fighters.
Next step
Beginner Loadout Reddit
Learn which starter units, vehicle upgrades, and support roles to slot into early presets to survive initial campaigns effectively.
Related Guides
Beginner Loadout Reddit
Learn which starter units, vehicle upgrades, and support roles to slot into early presets to survive initial campaigns effectively.
Best Loadout
Select optimal 8-slot army compositions in Noobs in Combat to balance armor, infantry, supply vehicles, and artillery within your starting tix budget.