
Noobs in Combat Western Front Campaign Guide
The Western Front in Noobs in Combat is a six-mission Hard campaign focusing on offensive pushes, beachhead assaults, and defensive trench warfare. Clearing these scenarios requires coordinating armor, managing transport logistics, and dismantling fortified German bunkers across western European battlefields.
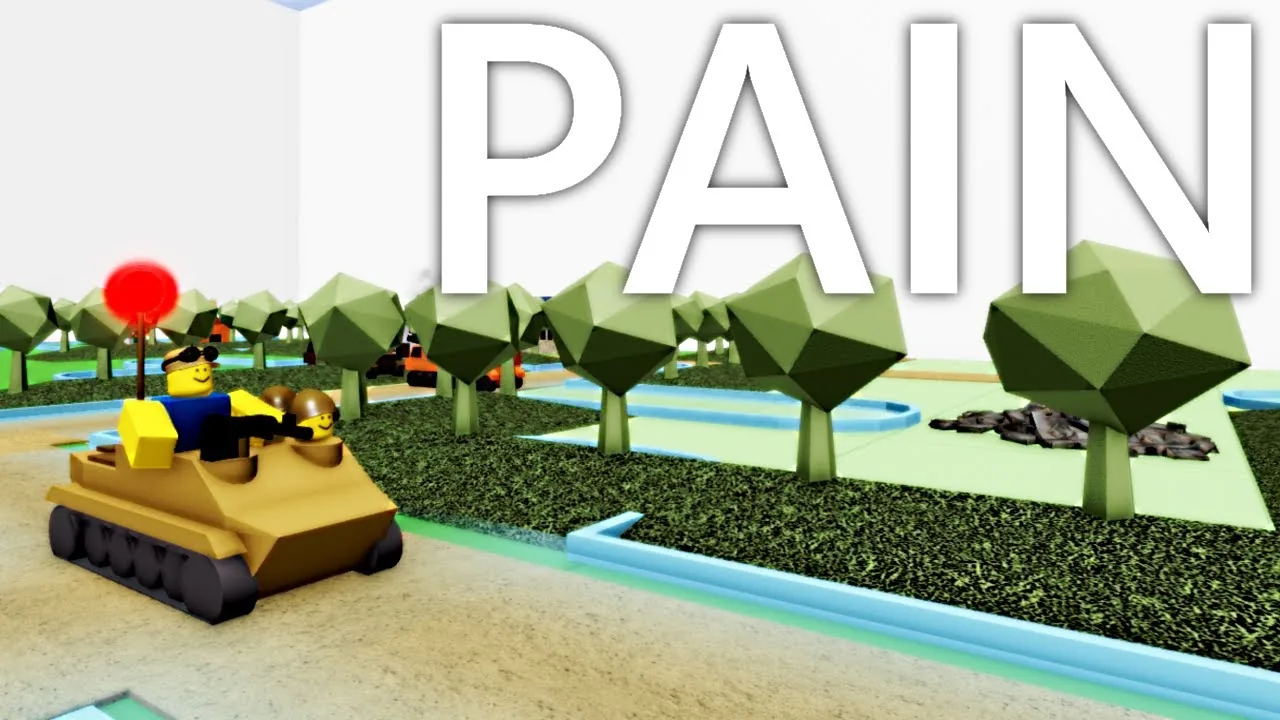
The Western Front in Noobs in Combat is a six-mission Hard campaign focusing on offensive pushes, beachhead assaults, and defensive trench warfare. Clearing these scenarios requires coordinating armor, managing transport logistics, and dismantling fortified German bunkers across western European battlefields.
Campaign Structure and Map Progression
The Western Front unlocks once players complete preceding operational tiers in the campaign menu. Ranked alongside the pacific front under the Hard difficulty rating, this theater places players in command of Allied forces pushing through German defensive positions in Western Europe across six distinct scenarios.
- Beach Landing: The opening mission challenges players to launch an amphibious assault, establish a beachhead from water deployment tiles, and destroy or capture enemy Supply Depots while under fire from coastal bunkers.
- Behind Enemy Lines: A forest-heavy offensive where players advance along hedgerow avenues to secure an Outpost and clear the primary depot.
- Hedgerow Tactics: A corridor map dominated by road chokepoints and fortified positions, requiring players to neutralize a Super-Heavy Tank while avoiding triggered convoy reinforcements.
- Jerry Counter Offensive: The lone defensive operation of the campaign, requiring your forces to defend three Allied Supply Depots and destroy an assigned quota of enemy vehicles.
- Liberate The Villages: An advance across scattered rural settlements and hedgerows with recurring off-map artillery strikes and armored counterattacks.
- Retake the Town: The concluding confrontation featuring five enemy Outposts, fortified headquarters defenses, minefields, and long-range Super Artillery on higher difficulties.
Mission Objectives and Combat Mechanics
Each scenario features distinct win conditions, terrain limits, and enemy reinforcement triggers.
Beach Landing
Beach Landing provides 8 to 9 deployment spaces alongside a starting Headquarters and Harbor. It is the only mission within the Western Front campaign that allows the production and deployment of naval units. To win, Allied forces must capture or destroy all German Supply Depots on the mainland. A second Supply Depot appears if two or more players participate.
On Normal difficulty, Jerry deploys a Destroyer at sea, while Tryhard difficulty swaps the vessel for three Cruiser Subs accompanied by Torpedo Bombers. Cargo Ships transport land vehicles and infantry across the water. Grunts cannot deploy directly onto coastal slopes from the sea, requiring designated drop zones.
Targeting bunkers on this map carries tactical risks. Eliminating any frontline Medium Gunner or destroying a side Turret Bunker triggers a reinforcement wave of six enemy units, including Bazooka or RPG specialists and SMG Troops. The Turret Bunker in the map center can be taken out safely without triggering these reinforcements. Flame units, such as the Flame Tank or Flame Launcher, deal increased damage to entrenched infantry inside concrete fortifications.
Behind Enemy Lines
The second mission removes naval gameplay and forces a land push through dense rows of trees that block line of sight and restrict vehicular transit. Vehicles cannot see enemies hidden inside forests, mountains, or buildings.
Playing solo limits the primary objective to capturing or destroying the enemy Supply Depot. Adding a second player or an allied bot causes a German Outpost to appear. Players cannot produce replacement units until this Outpost is captured, forcing reliance on starting pre-deployed formations.
Hedgerow Tactics
Hedgerow Tactics tasks your forces with clearing enemy Supply Depots, capturing an Outpost, and neutralizing an enemy Heavy Tank, Medium Tank+, or battle tank depending on mission settings.
The map features two specific bunkers housing Medium Gunners. Interacting with the first roadside bunker triggers an enemy armored convoy that arrives within three to five turns. Players bypass this wave entirely by routing forces through the hedgerows situated to the right of the bunker. An initial German Scout Car or Armored Car starts near the Allied Headquarters and must be eliminated before it inflicts base damage.
Jerry Counter Offensive
Operating as a defensive engagement, this mission provides three front trench positions and rear deployment spaces. Player 1 controls three Supply Depots that must survive enemy waves. Victory requires destroying incoming vehicles, including Armored Cars, Halftracks, and heavy armor.
Reinforcements appear at set intervals:
- Turn 3: German Halftracks or APCs transporting two Riflemen and one Bazooka.
- Turn 5: Additional infantry and Medium or Heavy Tanks.
- Turn 12: Super-Heavy Tanks and Commando infantry squads.
Units with the Ambush perk require caution; destroying an enemy vehicle via an Ambush counterattack can trigger a softlock bug that prevents mission completion. Players using air units on Rigged difficulty can target the enemy Mobile Howitzers positioned near the front blue house.
Liberate The Villages
Liberate The Villages presents an assault against three to six enemy Outposts, with the target count scaling up as additional players join. The front positions feature minimal garrisons, but advancing deeper prompts counterattacks from Medium Tanks and RPG infantry concealed within hedgerows.
Jerry periodically calls in artillery barrages across map tiles. These off-map artillery strikes originate from borders outside playable capture zones, though the artillery pieces themselves can be targeted and destroyed with long-range weapons.
Retake the Town
The final mission requires players to neutralize five Outposts, an enemy Headquarters, and a fortified Supply Depot. Sappers and Landmines are pre-deployed along choke points, marking the first appearance of active minefields in the campaign.
On Tryhard and Rigged difficulties, Jerry deploys a Super Artillery unit stationed beside the Headquarters in the northeast quadrant. Because the Super Artillery sits closer to the north, Player 1 draws the majority of incoming shelling. Deploying mobile scouts to locate hidden enemy radio units reduces the accuracy of long-range enemy bombardments.
Unit Selection for Western Front Missions
Balancing anti-fortification weaponry, armor support, and logistical sustainment determines operational success across long campaign turns.
| Unit Choice | Campaign Fit | Tactical Trade-Off |
|---|---|---|
| Battle Tank | Open road pushes and direct fire against enemy vehicles | High supply consumption and vulnerability to concealed anti-tank guns |
| Half-track with Grunts | Rapid deployment and depot capture runs | Limited armor against heavy tank cannons and field artillery |
| Mobile Field Gun | Long-range shelling against static bunkers and depot guards | Inability to fire direct shots beyond three tiles without spotting support |
Deploying a half-track filled with Grunts provides a rapid capture strategy on Beach Landing. The vehicle moves directly toward the beachhead, absorbs small-arms fire from coastal turrets, and unloads infantry on adjacent tiles to capture the primary Supply Depot within five turns.
Managing Logistics and Heavy Artillery
Artillery and resupply units dictate front stability throughout the later scenarios. A howitzer or Mobile Howitzer positioned behind defensive lines neutralizes hostile field guns, but requires consistent supply lines. Supply Carriers and Supply Wagons replenish spent shells; without them, heavy armor stalls after exhausting primary ammunition.
Towed support such as the anti tank gun offers defensive stopping power during Jerry Counter Offensive, blunting incoming German vehicle rushes along narrow road approaches. Maintaining dedicated spotter units keeps front lines moving while avoiding unnecessary bunker engagements that spawn extra enemy waves.
Next step
Woodland Warfare
Learn tactical deployment, outpost defense, and unit handling across every mission in the Woodland Warfare campaign.