
Noobs in Combat Pacific Front: Campaign Maps and Naval Tactics
The Noobs in Combat Pacific Front campaign is a seven-map naval and amphibious operation set to Hard difficulty. Clearing these missions requires deploying dedicated naval vessels like destroyers, battleships, and submarines while managing sonar sweeps, minefields, and carrier air support.
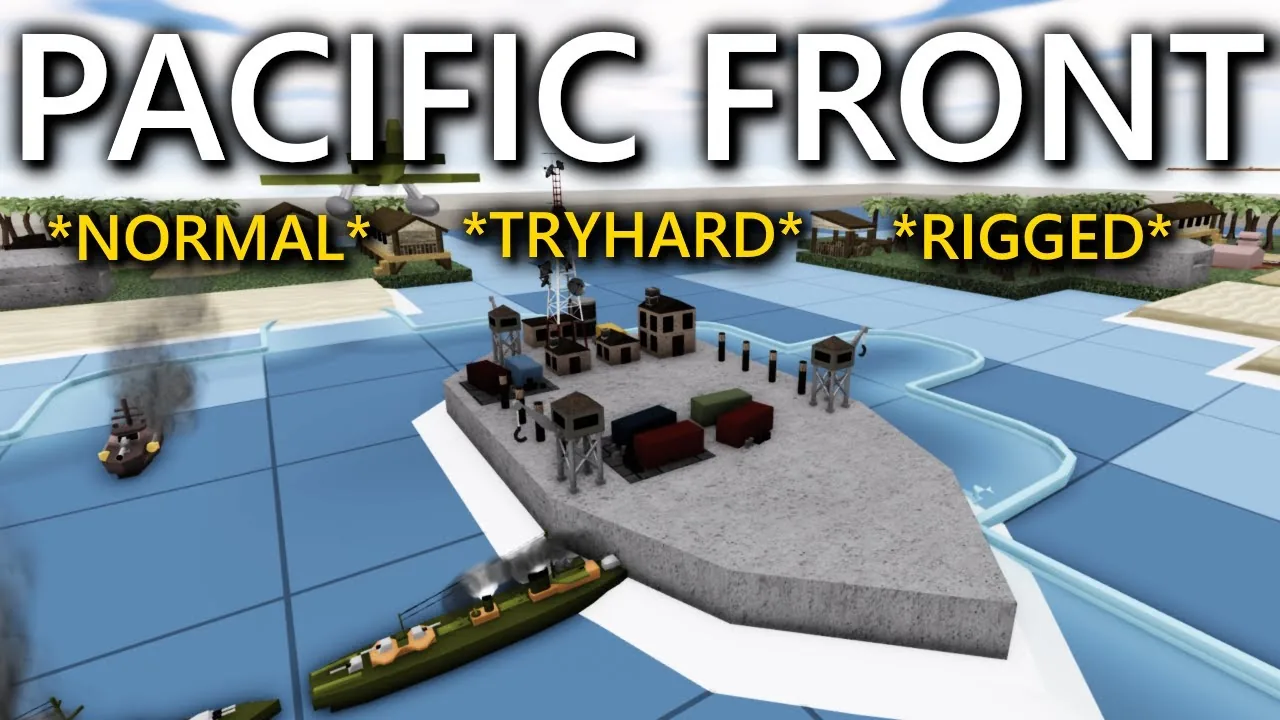
The Noobs in Combat Pacific Front campaign is a seven-map naval and amphibious operation set to Hard difficulty. Clearing these missions requires deploying dedicated naval vessels like destroyers, battleships, and submarines while managing sonar sweeps, minefields, and carrier air support.
Unlike the ground-heavy operations in the western front campaign, Pacific Front shifts the primary combat theater to deep water, shallow reefs, and fortified island coastlines. Players unlock naval units in the store once they reach the campaign tier that allows their deployment.
Campaign Structure and Mission Objectives
Pacific Front consists of seven sequential scenarios. Each map features distinct victory criteria, turn caps, and environmental restrictions:
- Mine Sweeping: Escort four allied aircraft carriers through open water. Players lose immediately if two carriers sink within the 19-turn limit.
- Surprise Attack: An offensive strike with a 29-turn cap. Objectives include destroying or capturing all supply depots, capturing two airports, sinking four enemy battleships, and capturing all three harbors.
- Naval Defence: A defensive scenario where players protect their headquarters from waves of naval vessels and incoming landing forces across 16 turns.
- Island Landing: An amphibious assault requiring transports to carry armor and infantry past coastal defenses to secure enemy airports and supply points.
- Concrete Battleship: A protracted siege against a massive fortified island structure, requiring fleets to dismantle coastal batteries and bunkers before ground forces advance.
- Ship Hunting: An open-water confrontation where the fleet must seek out and sink hostile cruisers, destroyers, and battleships scattered across deep water.
- Final Blow: The concluding offensive requiring combined naval strikes and landing forces to eliminate the remaining fortified bases and warships.
Every map supports Normal, Tryhard, and Rigged difficulty settings. Completing each scenario on Tryhard awards one of the 25 total campaign nuggets, which are required to expand starting deployment points and unlock high-tier unit evolutions. Completing a map on Rigged awards 10 gems on the first clear.
Sonar Detection and Naval Mechanics
Naval operations introduce distinct visibility and detection rules. Sea mines remain invisible until scouted, and sailing into an undetected minefield instantly destroys lighter ships or inflicts heavy damage on capital hulls.
Destroyers provide frontline reconnaissance using an active sonar ability:
- Hovering over the radar icon scans surrounding water tiles. A green indicator reading "OK" marks safe water.
- Exclamation marks identify potential mine locations or submerged enemy vessels.
- Sonar accuracy degrades if activated consecutively every round or immediately after moving the ship. When accuracy drops, false warning markers appear.
- Leaving the destroyer stationary without activating sonar for one full turn resets scanning precision to normal.
- Battleships lack sonar equipment and must rely on escort destroyers or aircraft to clear paths through narrow straits.
Submarines operate with a toggleable dive command. Submerged submarines avoid detection from standard surface fire, though destroyers possess dedicated anti-submarine depth charge attacks capable of sinking them in a single strike. Submarines move faster while surfaced and must surface when refueling or rearming.
Carrier aircraft operate under separate range calculations. When ordering airstrikes from dive bombers, targeting reticles show strike probabilities:
- Red reticles indicate a confirmed 100 percent hit chance.
- Yellow reticles appear at maximum operational range, representing a 50 percent accuracy check that can miss target tiles entirely.
- Planes consume fuel each turn they remain airborne. Returning aircraft to an aircraft carrier or captured airport restores fuel in a single turn, whereas lost aircraft hull points repair gradually across consecutive rounds.
Naval Unit Selection
Fleet composition dictates map pacing. Selecting the right hull type for specific mission objectives prevents running out of deployment ticks.
| Vessel Class | Best Situation | Trade-off or Resource Cost |
|---|---|---|
| Destroyer | Escorting carriers, clearing submarine ambushes, and identifying minefields | Light armor that takes heavy damage from shore batteries and cruisers |
| Battleship | Long-range bombardment of island bunkers, coastal batteries, and enemy capitals | High deployment cost, slow movement, and no built-in mine detection |
| Diesel Submarine | Ambushing unescorted battleships and holding defensive bottlenecks | Extremely vulnerable to destroyer depth charges and requires surfacing to refuel |
Tactics for Demanding Pacific Front Maps
Several scenarios feature strict failure states or severe enemy density that require measured positioning.
Mine Sweeping Escort
In Mine Sweeping, keeping the allied aircraft carriers alive requires establishing a screening line two to three tiles ahead of the convoy. Deploy two destroyers and a cargo ship early. Use one destroyer to scan the immediate route while keeping the other stationary to preserve sonar accuracy for the following turn. Do not allow carriers to stall near the deployment zone; delaying movement triggers late-turn enemy reinforcement spawns designed to counter camping formations.
Island Landing and Concrete Battleship
Amphibious operations require softening coastal defenses before deploying landing craft. In concrete battleship, ground troops attempting early landings take lethal fire from bunkers and coastal field guns. Position battleships outside the range of coastal artillery to systematically destroy defenses. Bring supply carriers or cargo ships to replenish battleship ammunition reserves, as prolonged naval bombardments quickly drain onboard shells.
Efficient Navy Leveling on Naval Defence
Naval Defence serves as the premier scenario to earn experience for ship evolutions. It is the best way to level up navy hulls like the seaplane tender, which requires 200 XP to evolve into the aircraft carrier.
Running this map solo on Tryhard prevents allied AI partners from losing their headquarters and ending the match prematurely:
- Spawn a grunt unit on turn one to immediately capture the adjacent harbor, securing additional tix per turn.
- Deploy two seaplane tenders behind the harbor defenses alongside screening destroyers.
- Establish a support cycle where damaged tenders repair each other while restoring allied aircraft, yielding consistent support experience every round.
- Funnel hostile ships into choke points using naval mine layers to protect the harbor perimeter without spending heavy ammunition.
Next step
Polar Region Guide
Review effective infantry roadblock tactics, enemy bear behavior, and deployment choices for the Polar Region campaign map in Noobs in Combat.
Related Guides
Polar Region Guide
Review effective infantry roadblock tactics, enemy bear behavior, and deployment choices for the Polar Region campaign map in Noobs in Combat.
Ship Hunting Mines
Discover verified mine-safe routes, shallow water mechanics, and fleet tactics for clearing Ship Hunting in Noobs in Combat.